Tuesday, May 21, 2013

Girl Power

The Skater-dress pattern by Kitchy Coo must be my all-time favourite sewing pattern for girls. The instructions are straight forward, it's designed for knit fabrics and very quick to sew. All round a win-win situation for busy Mums, I think!

When Spoonflower had their "Girl Power" contest a little while ago, I saw the ideal fabric for a groovy Skater-dress. Even more ideal was when Amanda posted on Kitchy Coo the tutorial for the Skater-Dress-Peplum-pattern-hack!  Perfect for a Tween Girl :)


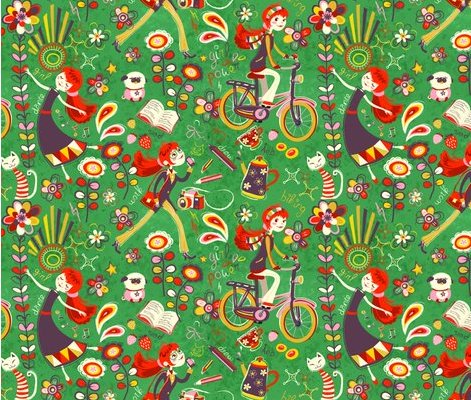
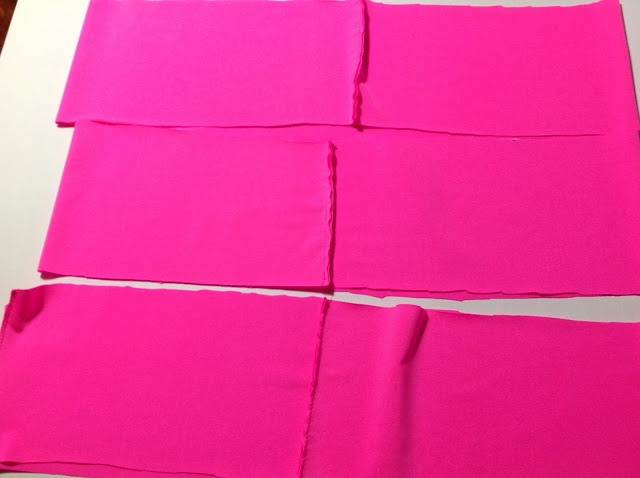
I ordered 2 yards of the organic cotton, hoping there'd be some left for maybe a bag or hoody lining. And there would have been if it weren't that I almost completely stuffed up the whole project by cutting the pattern pieces upside down :(  Nevermind. Sometimes a mother just shouldn't multi-task.


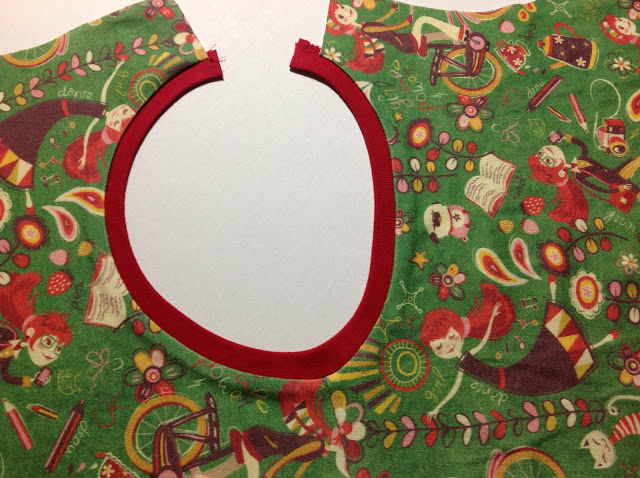
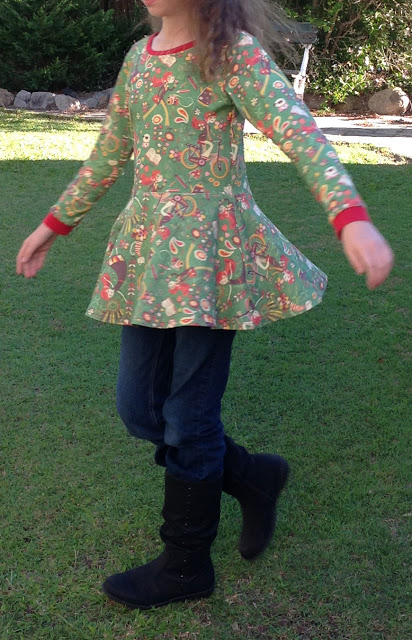
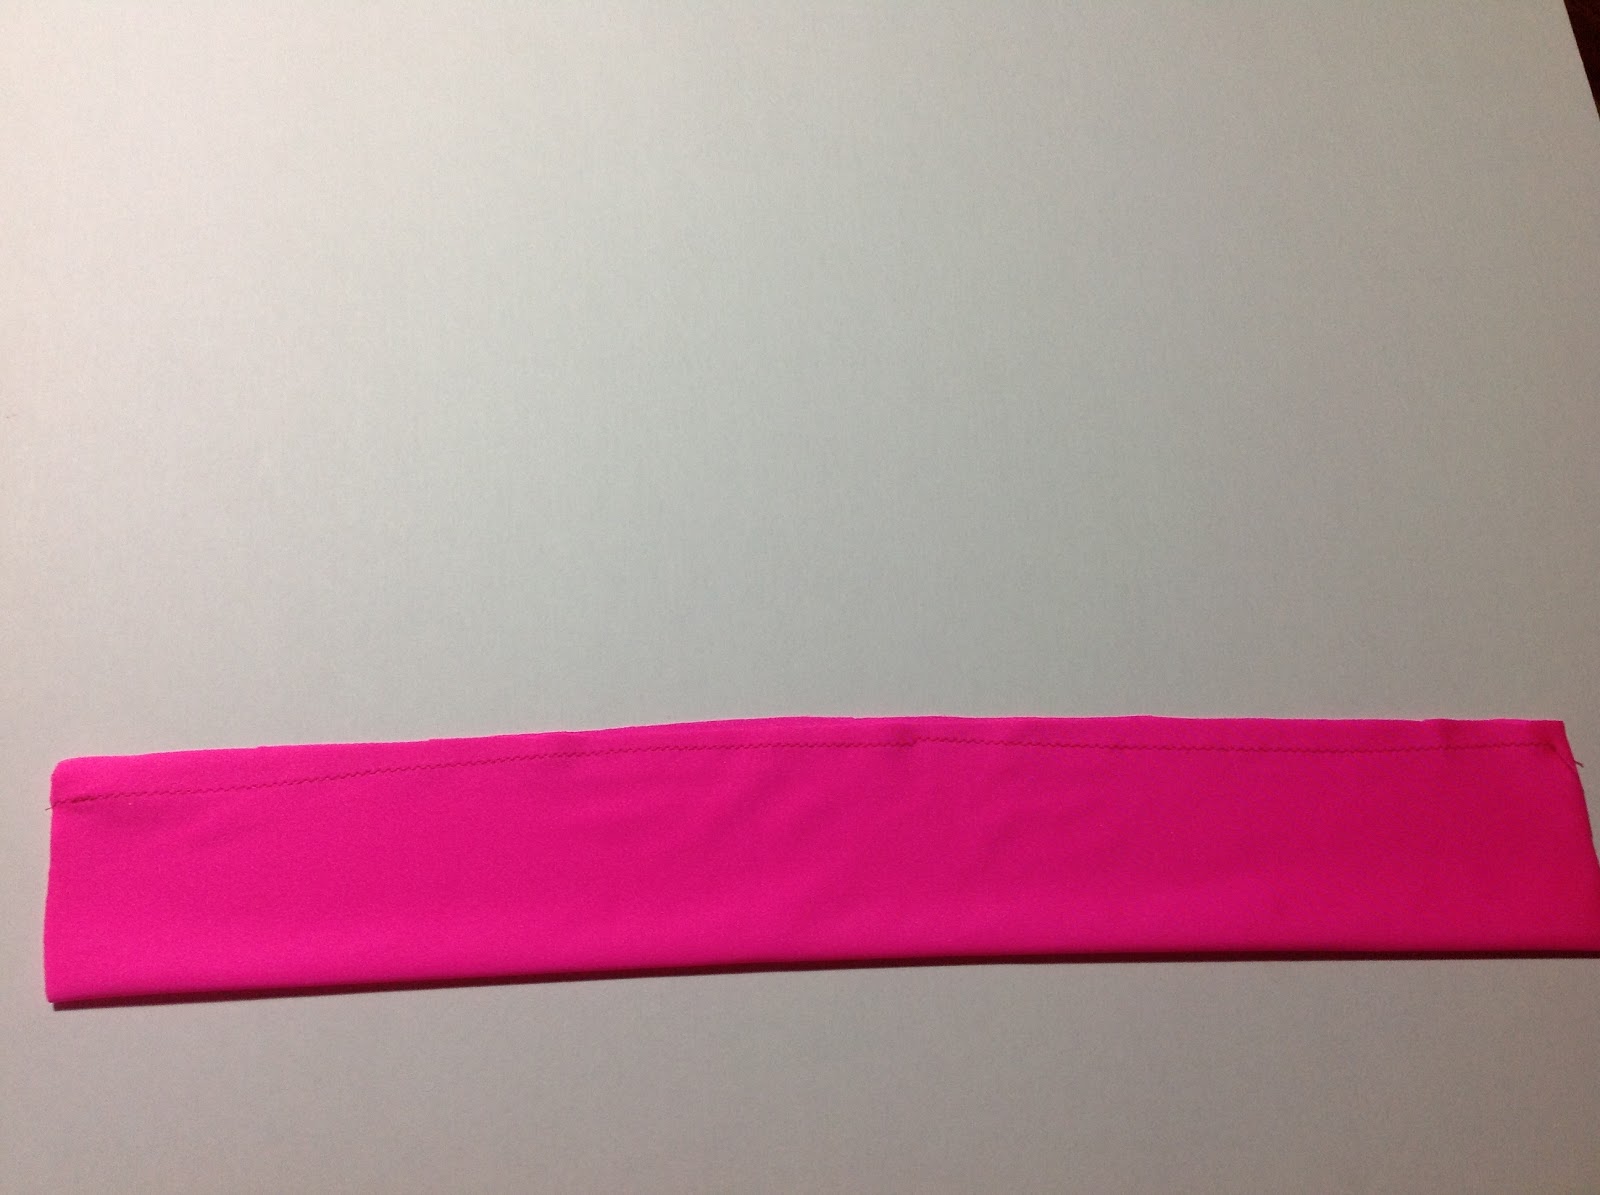
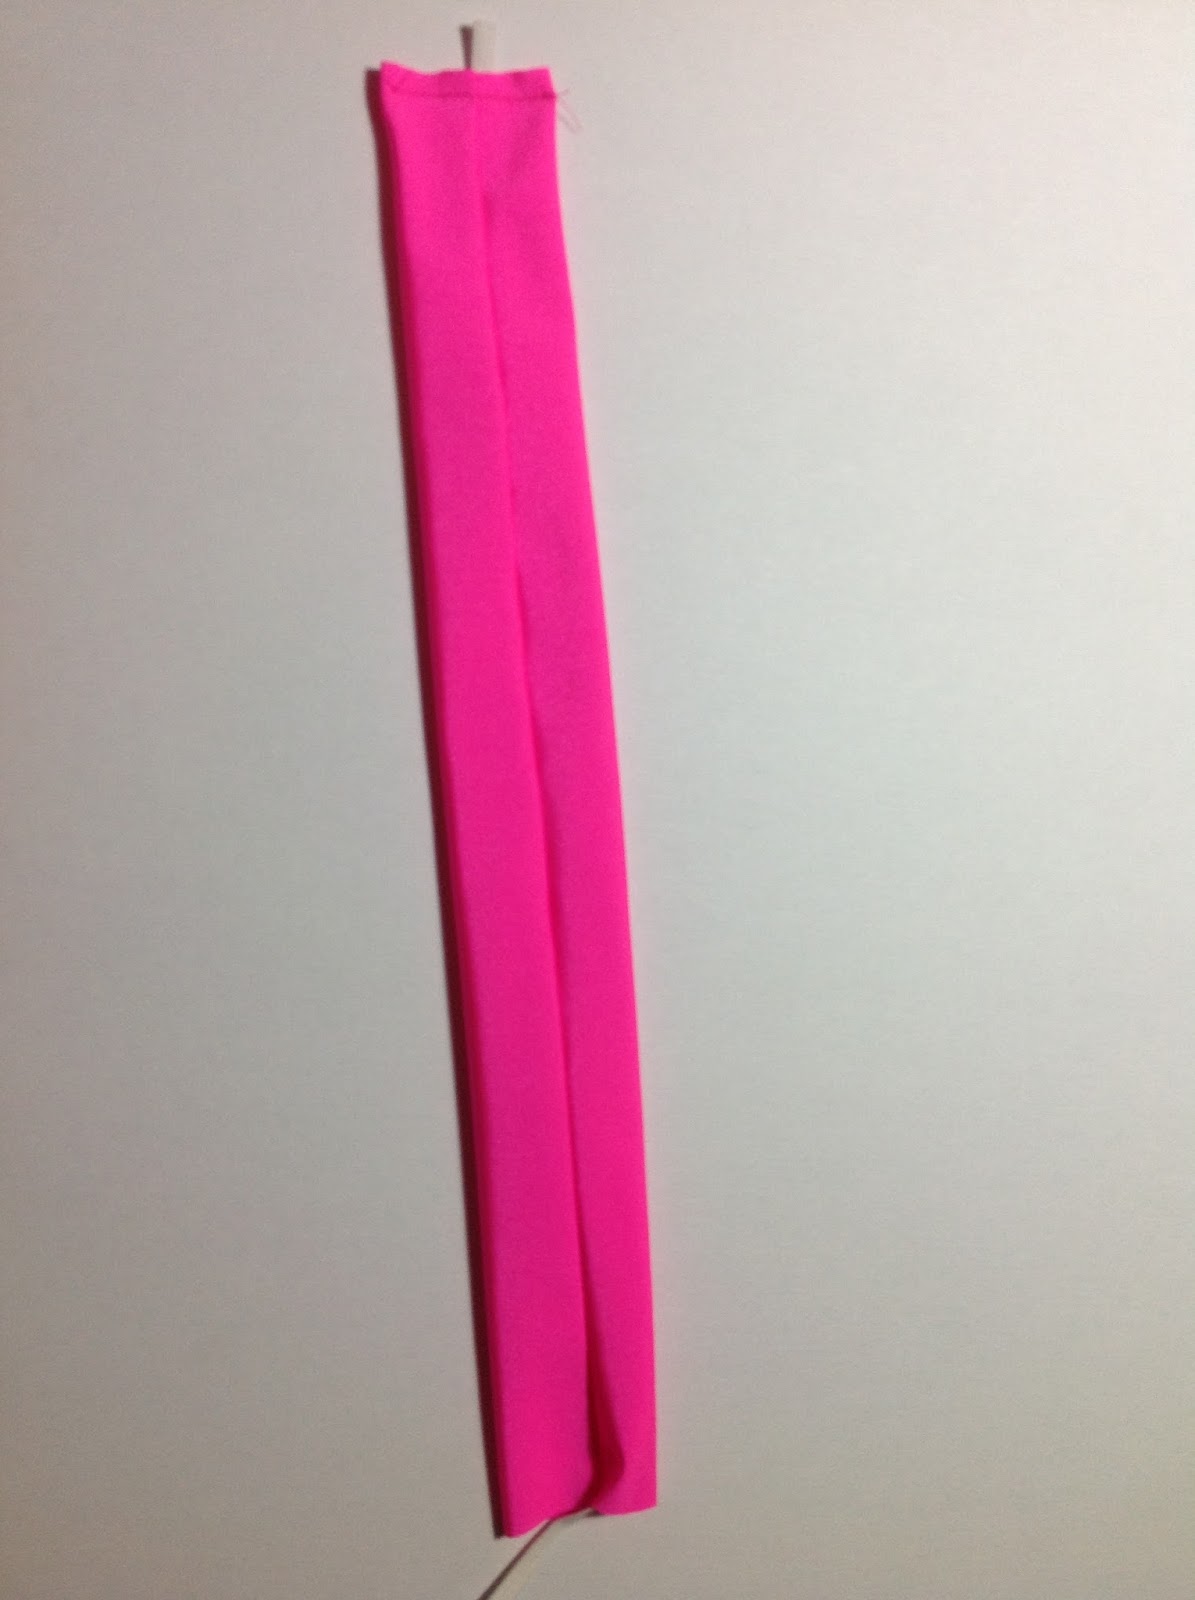
I've made the long sleeved version of the pattern and chose red ribbing for the neck and sleeve cuff bands.  Even without an overlocker, it is still easy to finish the neckline neatly.


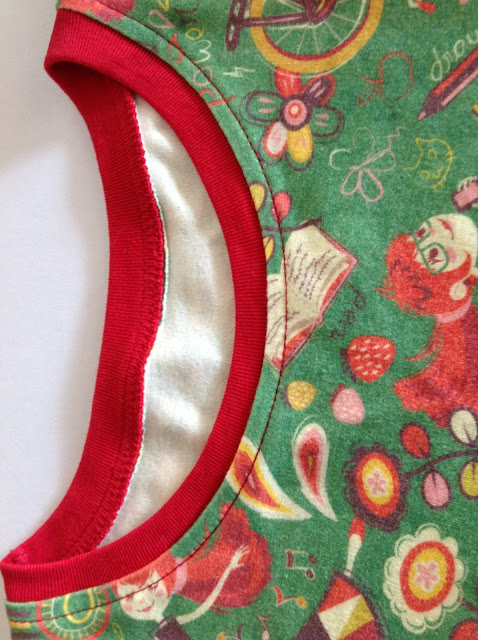
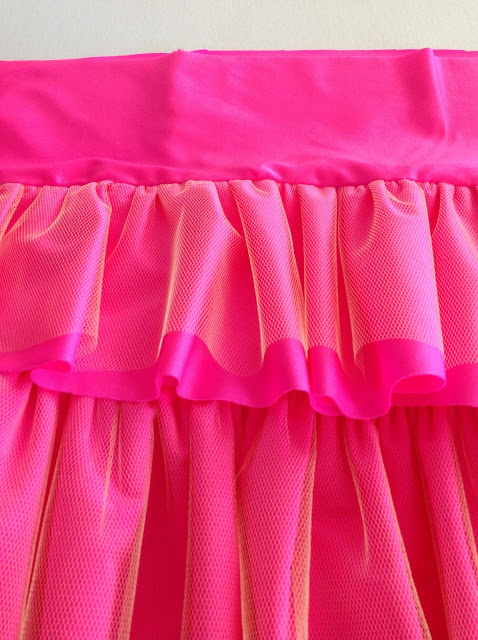
After finishing the neckline and stitch the other shoulder seam together, I've added the sleeves and skirt piece. No need for basting, just pin with right sides together and sew. Sew easy ;-)


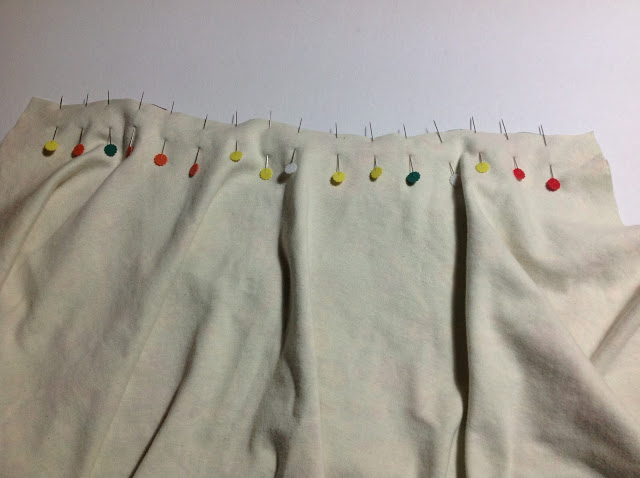
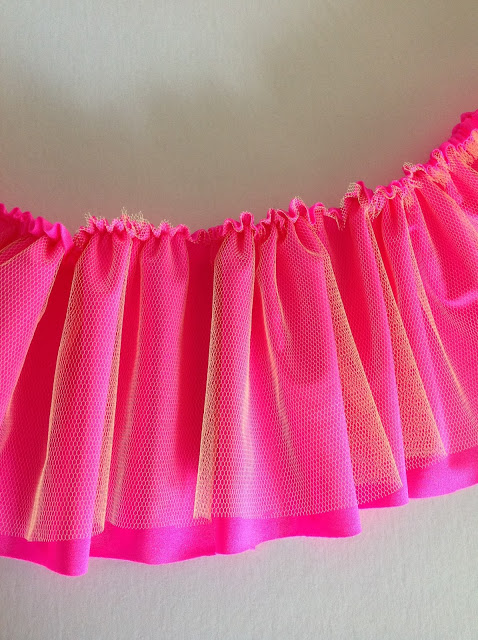
The Peplum drapes fantastic. Amanda does warn in her tutorial that it might be more fiddly than attaching the original, less twirly, skirt piece, but I found it to be just as easy to attach, pin and sew.

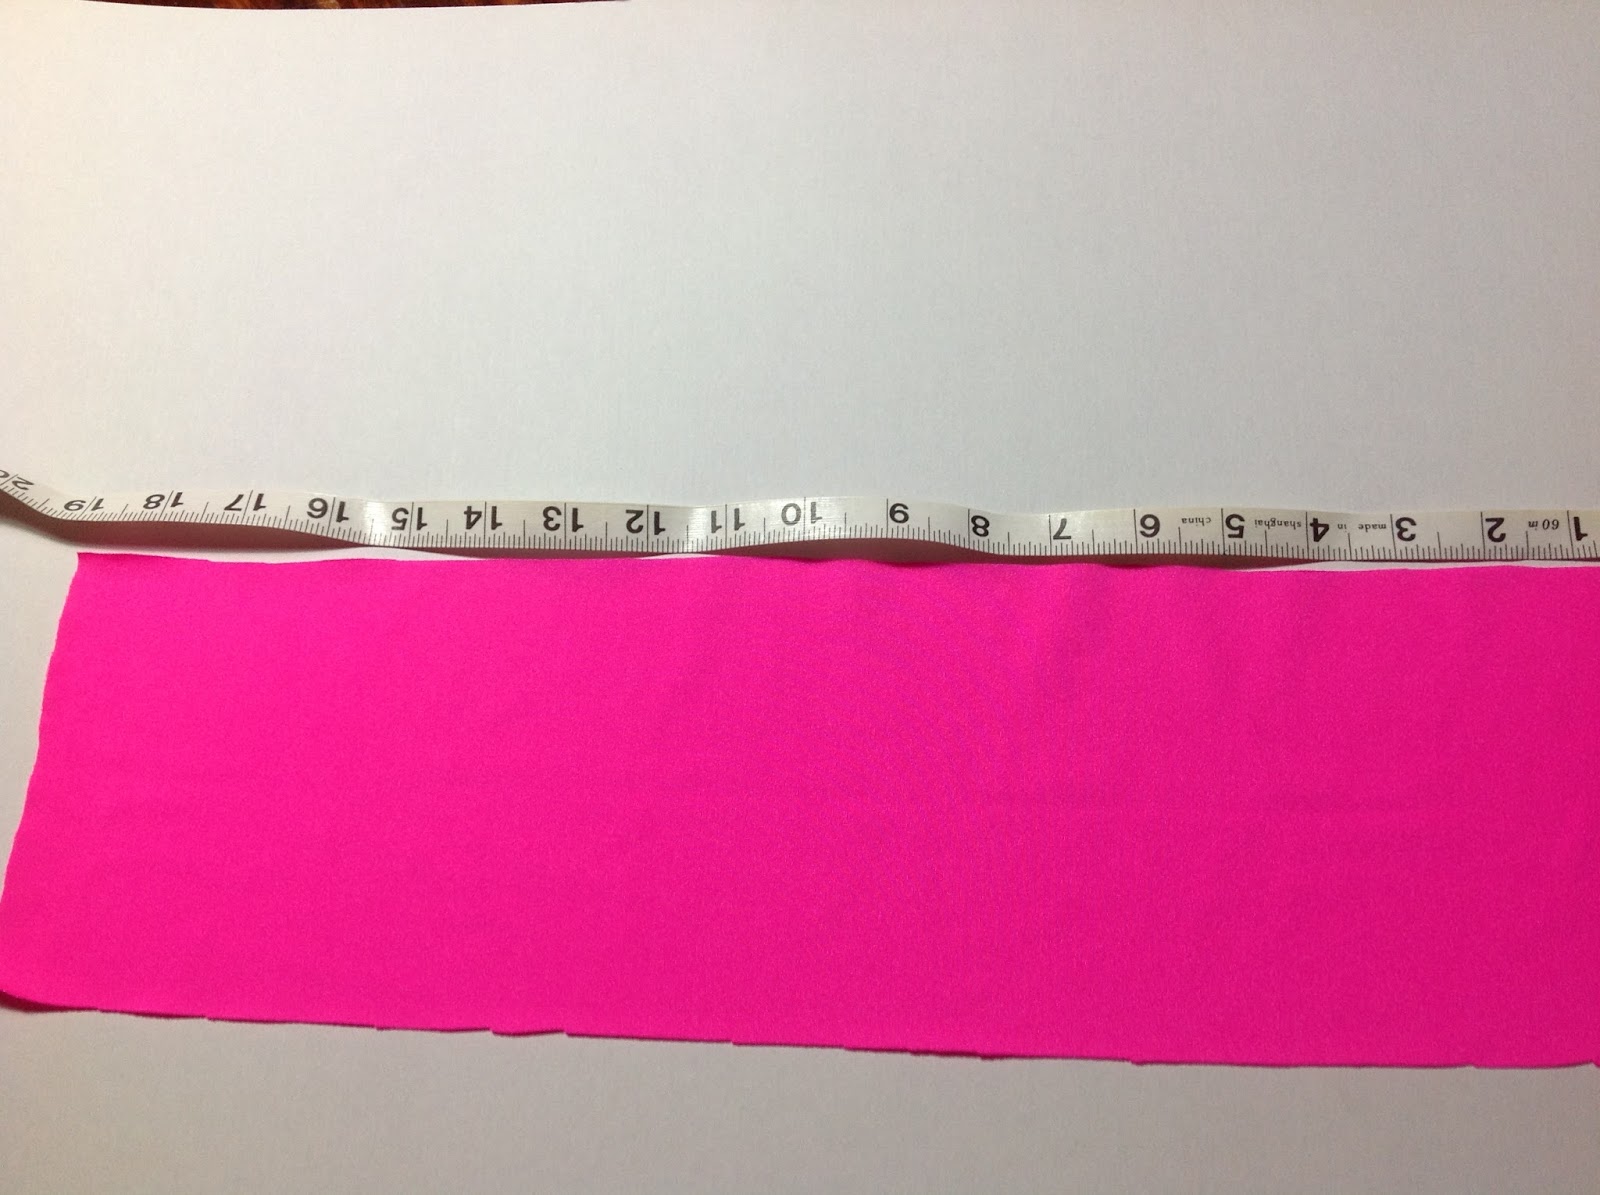
The Peplum hack use the original skirt pattern piece, only shortened to your preferred shirt length and spread out more to make a twirly Peplum. I didn't take any photos as went through the steps as I figured the tutorial on Kitchy Coo explains it perfectly.

After the sleeves and the skirt piece was sewn onto the Skater, it's just stitching the sides seams together and hemming it.  I'm really happy with how this dress/shirt turned out :)


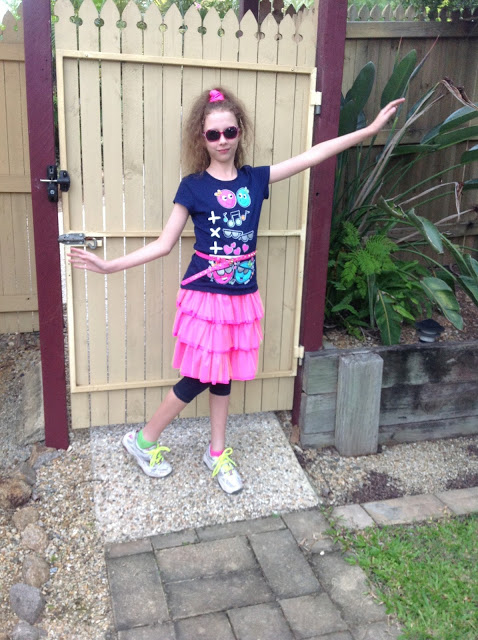
And most importantly, the wearer loved it too, and even loved that the Peplum part is upside down! That way, she can look at the patterns the right angle when she sits down. Got to love a girl that even love Mum's mistakes ;-)  


Friday, May 3, 2013

Super quick Scrunchie tutorial

The 80's was also about Scrunchies, so I made a quick one to go with C's outfit.  I'll share it with you here, I'm sure there are more sophisticated ways to make Scrunchies but this worked for me :)

Start by cutting a strip of fabric about 19 inches long by 5 inches wide.


Fold in half, right side together and sew in the length, leaving the ends open.  Turn inside out.


Cut a piece of elastic roughly the same size of the strip and insert from the one end and pin onto the other end. Sew.


Bunch the fabric up till you are satisfied with the amount of "scrunch".


When you're happy with your scrunches, sew the end of elastic in place and cut the extra piece off.


Fold ends together, pin, stitch and trim close to the stitch line.  


Turn the stitched edge to the inside, ruffle your scrunches along till you're happy with the look and you're done :)


Remember to follow Sewing Streak on Facebook and Instagram to see what's new :-)

Funky 80's and those Fluro Tutus

Please do not pin the photo of my daughter, you are welcome to pin any other part of the tutorial. Thank you :)
--------------------------------------

You might be too young to remember the fashion of the 80's? I was in middle/high school at the time and I loved the clothes. The pink, yellow, green and orange fluro. The big, bushy hair with the teased fringe and gelled back sides. ahhhh... those were the days... and the music... loved the 80's music!

This week is all about the 80's at my daughter's school as the high schoolers showcase their talents nightly at the bi-annual school musical.  For one day, everyone gets to dress up 80's style, and of course this sewing-mad-mother saw the opportunity to create something fun ;-)


No, I didn't make the socks but I did suggest that she wear different coloured socks. And it's not just because the laundry basket's overflowing and I couldn't find the other pink one!  My contribution to her funky ensemble was the pink frilly skirt and matching scrunchie.  It's been a while since I made a "tutu" but this one turned out to be a cinch since the lycra and bridal tulle edges don't fray. Thus no need for my ever temperamental overlocker! 

She didn't want the skirt too short, so I decided to make it into three layers.  For the whole skirt, you basically need 9 strips of fabric.  3 Strips of the Lycra to make up the ruffles, 3 strips of Tulle the same length as the ruffles and another 3 strips of Lycra that acts as the interconnecting pieces that holds everything together.  It's simple maths. For the 3 interconnecting strips, simply multiply the waist circumference by 1.5 and for the ruffle strips multiply that sum by 2.  To calculate the length, just measure from waist down to the length you want the skirt to be and divide by 3.

For example - 27.5 inch waist measurement x 1.5 = 41.25 - this is the width of the interconnecting strips. Then to calculate the ruffles it's simply 41.25 x 2 = 82.5 inches.  If you want the skirt to be more puffy, just make the calculation x 3.  The skirt is held up with elastic - cut that piece width as the waist measurement plus another inch added. If you work with fabric that needs to be hemmed, make sure to add a bit more to your length measurements. I've cut my strips each to be 5.5 inches.


The next step is to stitch the ends of each of the 3 interconnecting strips together.


Next, I placed the Tulle and the Lycra for the ruffles together, gathered to match the width of each interconnecting strip and sewed the end of each ruffle strip together.


Pin 1 interconnecting piece over the ruffled piece and stitch together. 


Then fold up the interconnecting piece, iron and pin the next ruffle over the piece. Another interconnecting piece goes over the ruffle, pin, sew and iron. It's just repeating the basics :)


The final interconnecting piece folds over for you to insert the elastic and you're done!  One very cute fluro "tutu" :)


Match with a cute t-shirt, accessorise and enjoy! 


Remember to follow Sewing Streak on Facebook and Instagram to see what's new :-)