Monday, April 29, 2013

Quick Toilet Roll Craft

My son collects toilet rolls. True story. Sometimes I wonder about that kid... but at least it comes in handy when we want to create some stuff when they're bored!

There's so many things that one can create from toilet rolls. Browsing Pinterest alone brings up a myriad of options.  For this post, we're creating a flower and a butterfly.

First, flattening the roll slightly, cut pieces making sure they are approximately the same size.


Next, paint the pieces in the colours of your choice. We have used acrylic paint... of course it doesn't wash out of clothes as this Mother should have remembered!


When all the pieces are painted and dry, arrange into your creations and glue together.  We've used some paperclips to keep the petals together while the glue dry.


When it's all nicely glued and dry, you're done! We taped it onto some chopsticks to make pot plant or vase decorations. 


Misty inspected every creation like the pro she is ;-)


Hmm.. maybe we should rather try it in a vase? Maybe it looks better standing up, what do you think Misty?


She's suspicious of this so-called butterfly...


"Definitely fake flowers...", she thinks.


"Wonder what this tastes like"?


"Yuck.. all fake... stupid humans... I'll just leave them to play with their toilet rolls now..."


Saturday, April 27, 2013

From Olive to Olivia, or something along those lines

I love browsing through Violette Field Threads' patterns. I don't know if it's the artful photography or the dreamy designs but there's something about that website that makes me return frequently for a sticky beak.

I recently bought the "Olive" pattern to make for Celine but since the cooler weather is approaching here down under, I decided to adjust it slightly so that it's more suitable.  I'm no expert when it comes to adjusting patterns, so this experiment could very well have gone either way... Luckily the size 10 measurements worked perfectly for her size. 

I used the bodice pattern pieces from another pattern that I do know fit her and pinned it to the "Olive" pattern pieces.


The idea was to make it long sleeved, and for a moment there, I thought I had this brilliant plan happening as how to lengthen the sleeves. *Sigh* It wasn't a brilliant plan, more like an epic fail, but the three quarter sleeves it ended up with actually looked much better. Let's call it a happy accident. Next time I'll know better:)


The adjusted bodice pieces after cutting showed promise. I wasn't about to celebrate just yet.  


The ruffles wasn't as much of a challenge as what I thought it might be, and I'm loving the red knit:)


The final front pre-hemming. I absolutely love how the neckline turned out. I recently made a Skater dress from Kitchy Coo for Celine that was completely not blog-worthy because I really stuffed the neckline up on that one, and ended up damaging the fabric in the process:( Nevermind. It's pajamas now. BUT I did learn from that efforts how to perfect the neckline, so this time it was happy-dance all around:)


And the back pre-hemming.  The ruffles absolutely make this pattern, I think.


Can't say that my model was in the mood for taking photos, but she at least looked awesome in her new top! That cute lady bug headband is from my friends over at Princess Hair Accessories. Gorgeous stuff.  I don't know if they have any more of the lady bug headbands in stock, but all their other hair accessories and hats are to die for:)


Well, I'm pleased to say that she does approve of the final product. Apparently it's very comfortable and pretty. That's all I needed to hear. Nothing as disappointing as making your kids something and then it never gets worn!  So, what's next? Would have loved to make her the "Whitney" pants from Violette Field Threads but she wasn't impressed when she saw the giant bow. I thought it looked cute, but I guess she's growing up and that's just a bit too childish? I don't know.. maybe if they make that in adult sizes one day, I'd get to wear it ;-)


Sunday, April 21, 2013

You've got some NERF dude!

Please do NOT pin the photos of my children. You are welcome to use the tutorial and the photo of the actual belt. Thanks so much for co-operating:)
----------------
My kids love a good Nerf gun battle. Especially when Mum and Dad joins in. Then it's the best apparently... I suspect it might have something to do with the fact that Dad can take a bullet without crying and Mum picks up the bullets and distributes it evenly across the army ;-)

Since I'm the chief-bullet-picker-upperer, I decided to concoct them each an ammunition belt in the hope that if they store it on them, I might get promoted to maybe something easy like "spectator"!

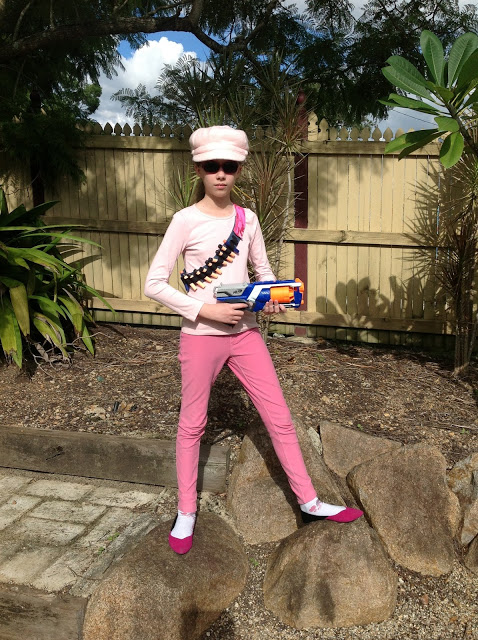
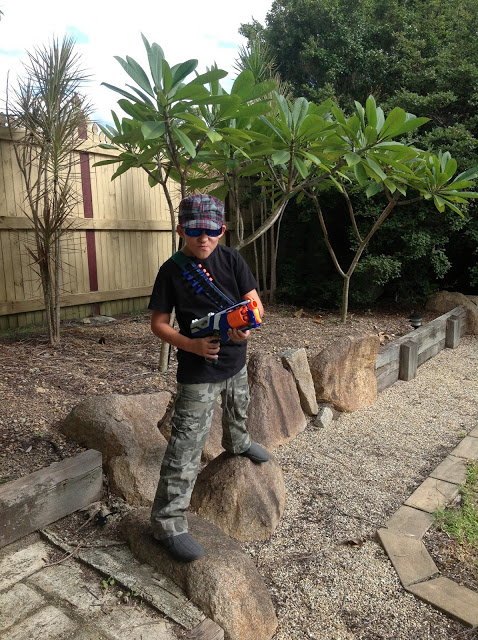
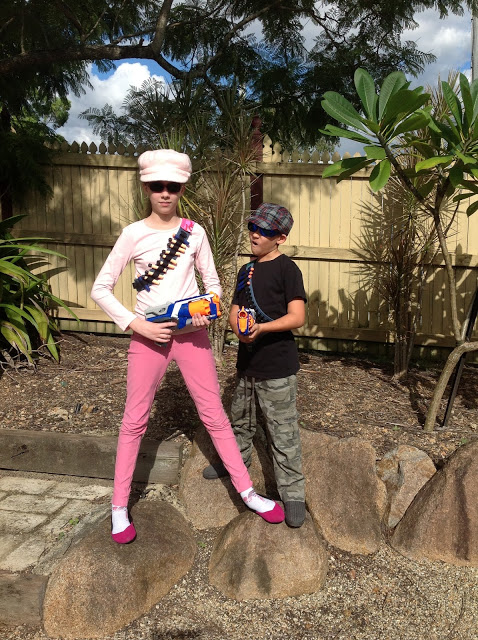
They were quite impressed with Mum's effort, I'm pleased to say :)  Celine, my little hoarder, made sure she had the most bullets loaded onto the belt for the next round, Michael understood that a fully loaded gun will come in much more handy. That's boys for you.. and of course C should know by now that pink isn't exactly the best choice for camouflage!


It was a quick and easy sewing job and I'm happy to share it with you all. Feel free to pin the tutorial but please do not pin the photos of my kids!

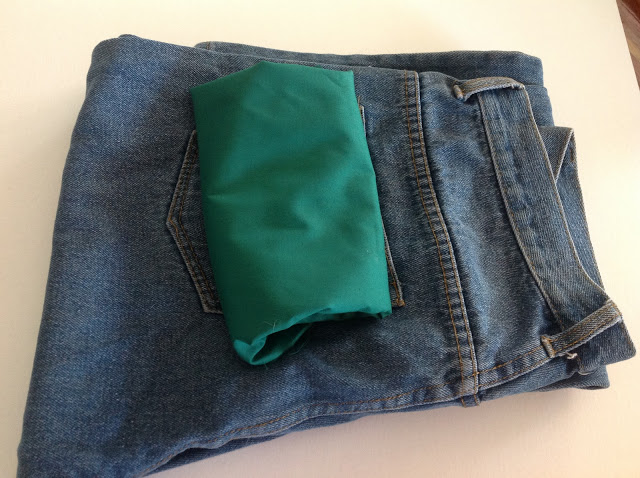
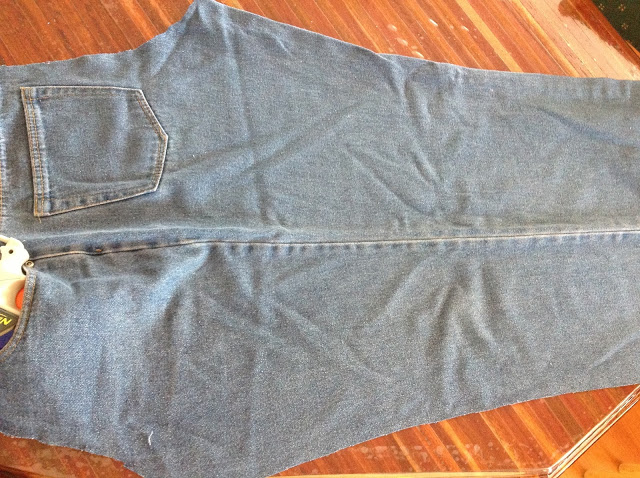
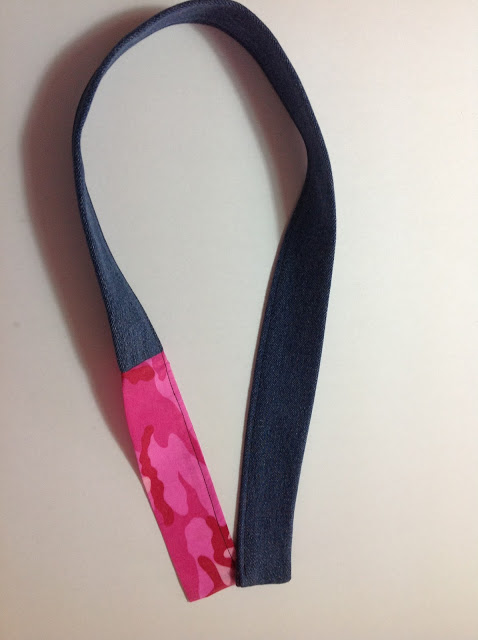
I made the belt from the leg of an old denim and used some cotton scraps for the shoulder strap. That way the belt is sturdy but also soft across the shoulder area.


I measured them across the body, 31 inches for my 8 year old and 37 inches for my 11 year old. The next step was to cut the strips from the denim pant leg, I made it about 4 and a half inch in width, seam allowance included.


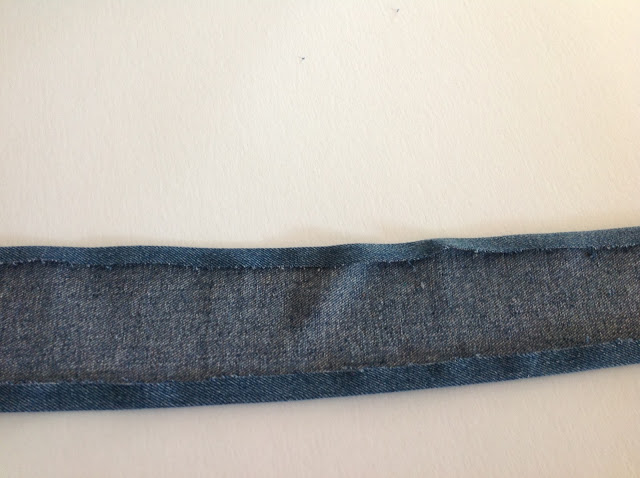
Next, iron the seam allowance edges to the inside. I found that it's a bit difficult to sew and turn denim the normal way to make a belt. This way we're cheating a bit but it's so much quicker, easier and it still looks good.


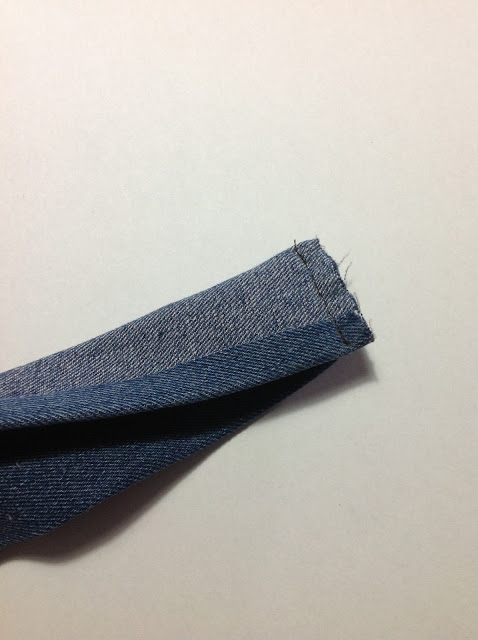
Fold in half, stitch the edges of each length with right sides together.


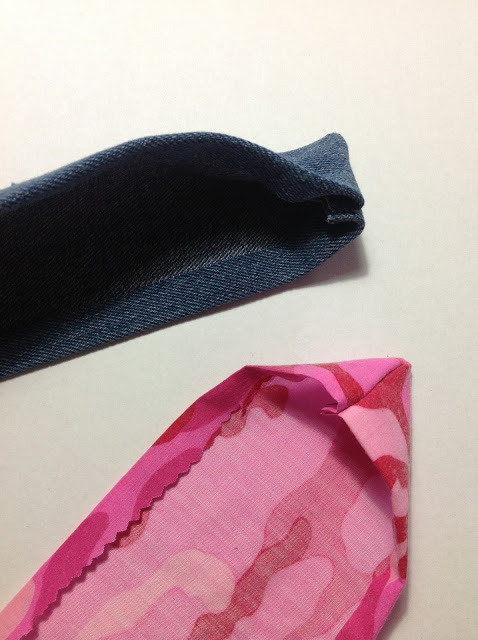
Then turn the corners out so that the wrong sides are on the inside.  


Then line up the edges and stitch the opening closed. The result is a very neat looking belt!


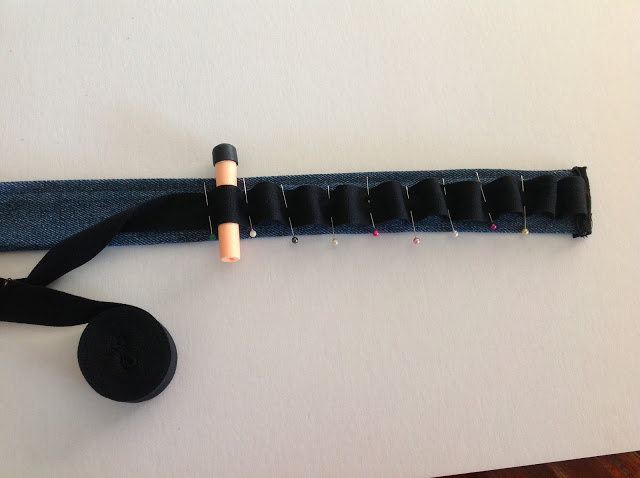
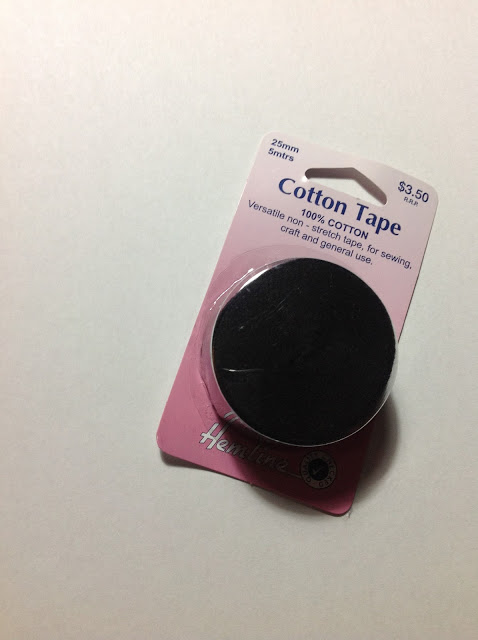
I also stitched velcro onto each end.  The next step is to add the loops that hold the bullets to the belt.  I have used plain black cotton tape for that since I already had it. Any ribbon or elastic would do the job too. 


I stitched the beginning of the roll of cotton tape to the end of the belt and then measured each space by positioning a bullet loosely and then pinning the cotton to the denim. The fitting should be loose enough for a bullet to be loaded quickly, but tight enough not to fall straight through. 


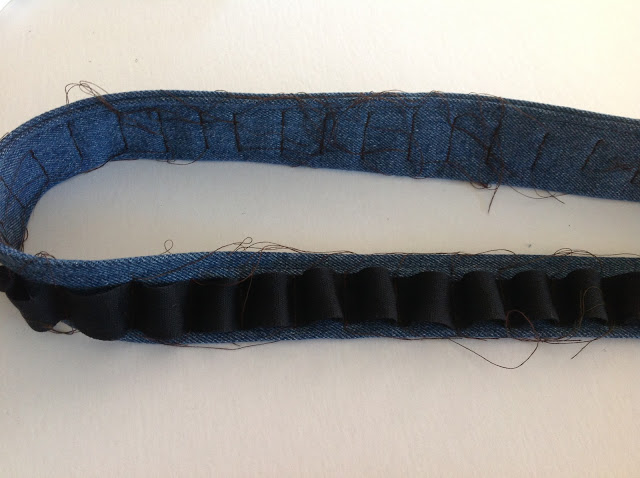
Stitch the tape to the belt at each pin interval. Don't cut the cotton tape from the roll before you've measured and pinned all the loops. When you're happy with the amount of loops, cut the cotton tape, fold raw edge under and stitch in place.

(Look at all that thread. Surely it's not classified as child labour that I made them each trim back the thread on their own belts?)  
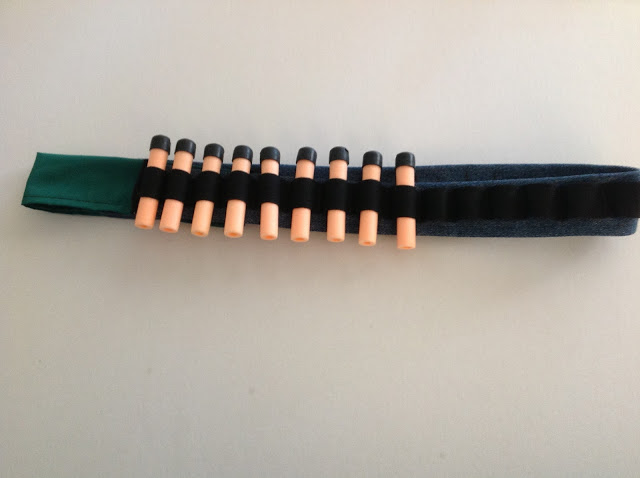
I made loops across the entire length of the belt; the idea being that they can just pull the belt across to the front when they need more bullets. However, after a day of play, I can tell you that it wasn't necessary as the kids completely forgot about that option and only reloaded the front of the belt! 


The end result. Pretty snazzy looking ammo belt if I have to say so myself ;-) 


The army was pleased. Unfortunately, I still ended up being the chief bullet-picker-upperer, albeit less frequently.  Instead my job description expanded to include ammo-belt-bullet-loading. The working conditions and pay's good though... I got shot less frequently and even received some hugs and kisses for my effort :)

Some more pics of my fearsome army. My frangipani tree's save, they protected it well ;-)


Remember to follow Sewing Streak on Facebook and Instagram to see what's new :-)

Wednesday, April 17, 2013

No need to throw the old lady out...

We love vintage stuff over at our place. My husband especially. One of his hobbies is to restore old Singer sewing machines and I'll share with you a couple of photos from one of his recent restorations.


He bought this 1948 Singer 201K electric for a mere $16 at a garage sale recently. To me, most of the stuff he brings home just look like hard work + junk. But he saw that the mechanics of the sewing machine was still sound, only extremely dirty and that is easily fixed.


It is quite rare to find any vintage sewing machine still accompanied by its bentwood case, so he was very pleased with this find.  The shellac coating on the machine was worn and cracked in most places. That he scratched back painstakingly with a wooden spatula. Most restoration websites advise that one should use your fingernails to scratch it off.  Apparently that is the most effective without scratching the paint work underneath. Trust me, the wooden spatula does an equally good job and no damage to the paint or your fingernails!


The Singer 201K can also be converted to a hand model and he felt this specific machine would look and work better as a hand model.  


Here's the hand crank attached. Nicely polished. You can see on the photo below that the shellac has been completely removed and the whole machine has been cleaned and polished.  Even the timber base got a bit of love with a new coat of varnish:)


The completed front view.  According to him it wasn't a difficult restoration, only a bit time consuming due to the shellac needed to be scratched off.


The bentwood case looks beautiful too after a bit of sanding, varnish and polish. It's a lovely, solid machine. Sure, I won't replace my Janome Memory Craft for this Singer 201K but it's still a beauty and works perfectly. 


Friday, April 12, 2013

Grandma, why are your feet so big??

"So that I can jump across the ocean to visit you my dear!"


My Mother has big feet. No joke. She's 6ft. tall with big hands, big feet and a larger than life persona. I love her to bits.  She also lives about 10 000 miles away from me, so we don't see each other often. Thank God for Skype!

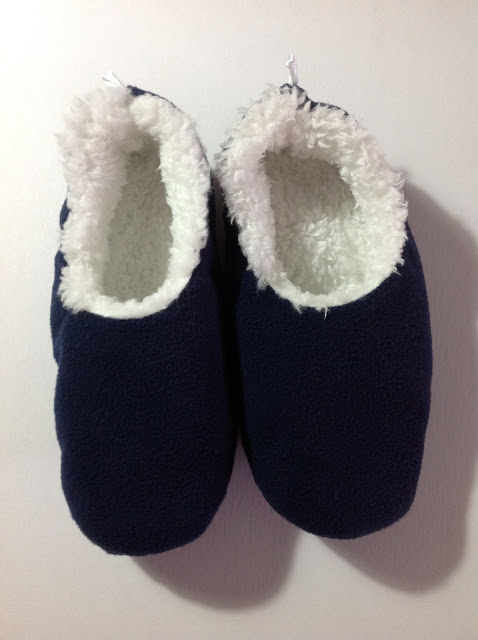
With Winter approaching in the southern hemisphere, I immediately thought of her when I saw these "big uglies". I have a similar pair in flowery pink and they are so comfortable and non-slip too. Unfortunately the manufacturers didn't think to make the bigger sizes in pretty colours.  Not to worry... it's just another opportunity for me to get creative, so I'm not complaining!


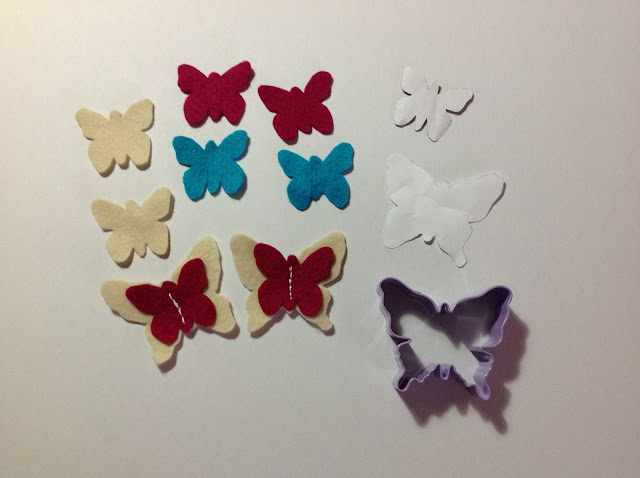
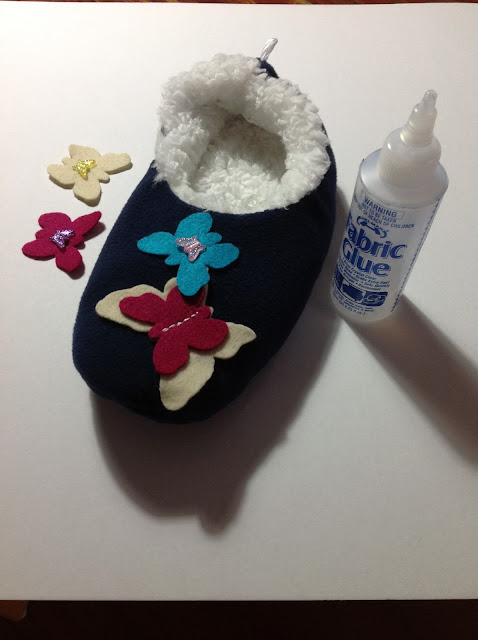
Using my large butterfly cookie cutter, I traced a template onto paper. Yes, cookie cutters can be used for that, I'm sure ;-)  My clever daughter copied me the smaller butterfly to paper. I've found some nice coloured Felt in my fabric stash for the butterflies and hand-stitched two small ones onto the two bigger ones. I'd love to say that it's just the angle of the photo that make the lines looks skew, but unfortunately that's not the case! Nevermind. I'm sure Mum would love it anyway.


Placing the butterflies onto the "big uglies", I realised it needed something more.


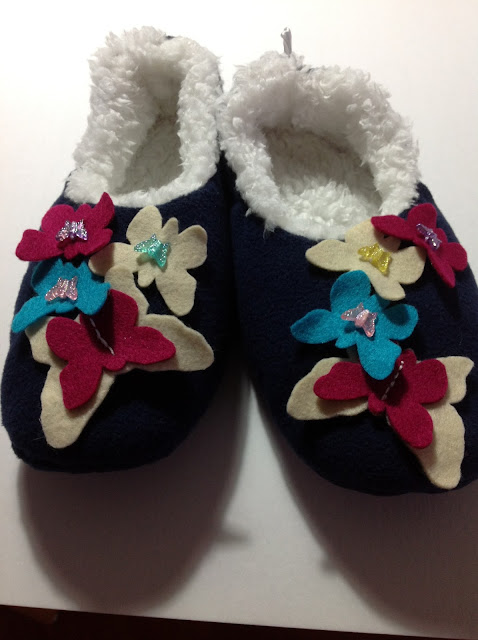
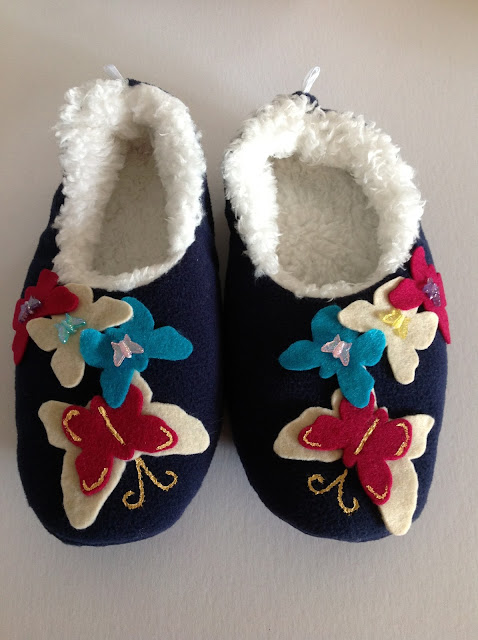
Miss C. had some butterfly beads in her collection and volunteered that for Grandma's slippers:)  We decided the "3D" butterflies look pretty cute.  I hand-sewed them into place.


After deciding upon how to position the butterflies, I glued them into place with fabric glue. Isn't fabric glue just the best? I lost count of the amount of times I've used that in creating last minute dress-up costumes for the various times the kids needed it.


When the glue dried, I felt it still needed something else and added a little bit of gold acrylic paint to the mix. What do you think? For sure a definite improvement from the "big uglies" it started out as! Now to make sure it gets mailed in time for Mother's day:)


Wednesday, April 10, 2013

Sharing the love

We all love Pinterest. It's easy to spend an hour or two browsing other people's creations and pinning it to our own ever increasing wishlist.  Recently, I decided to have a go at recreating one of my favourites for the Pinterest Challenge over at SewCanDo.

Pinterest inspired - source found here

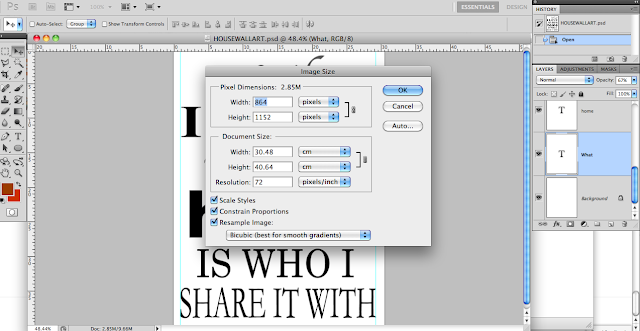
So, I bought a canvas and started playing around in Photoshop with various typesettings. Photoshop is great for these kind of projects because you can digitally recreate your end result before putting actual paint to canvas.  I've set my image size in Photoshop to be exactly the same size as my bought canvas and placed each line of text on a different layer for easier manipulation.


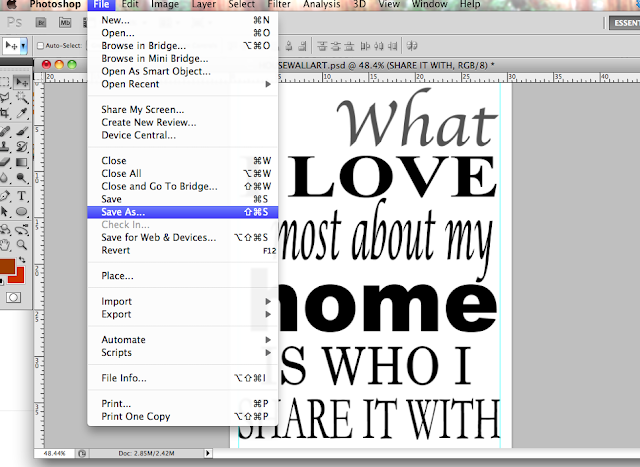
I have used a combination of the fonts Apple Chancery, Times New Roman, Lucinda Calligraphy, Arial Black, Century Schoolbook and Garamond to create the text.  When I was happy with the layout, I saved the image as a .jpg file.


My printer doesn't print anything larger than A4, so I had to come up with a plan to print sections to piece together after printing the A4 pages. Saving the file as a .jpg, I then opened a blank page in Photoshop, set it to A4 size and placed the .jpg image on it. Sure, it didn't fit, but this way I could drag the image in the printable area bit by bit and thus print the whole image in 4 sections.  From there, it was just lining up the printed pages and sticky tape the whole lot together.


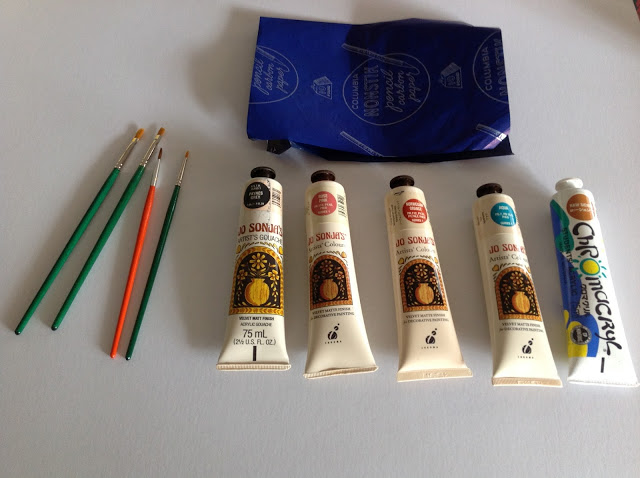
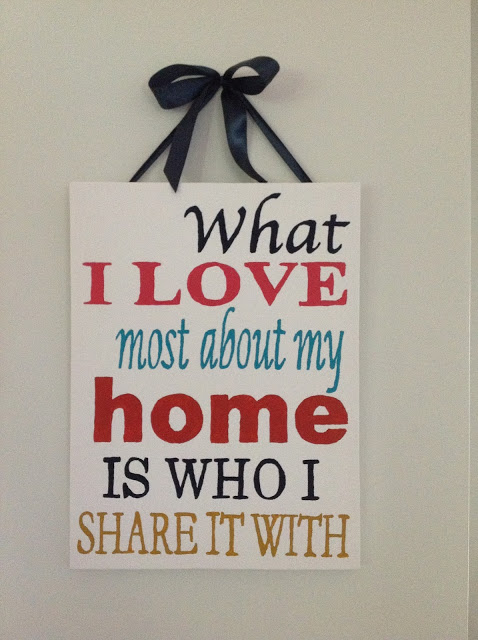
With my trusty old carbon paper, I traced over the text onto the canvas. Then the fun with acrylic paints began! I have used Payne's Grey for "What"  and "Is Who I", Rose Pink for "I Love", Aqua for "most about my", Norwegian Orange for "home" and Raw Sienna for "Share It With". I found that using the smallest, round edge brushes worked the best and have used that pretty much for the whole canvas. You may have a steadier hand than me, I'm sure the whole process would go a lot quicker using the larger brushes :)

I finished the end result with a dark grey ribbon to hang. It's not an exact replica of the original but the words still ring true. What I absolutely love the most about my home, is the wonderful individuals (and cat) I share it with :)