


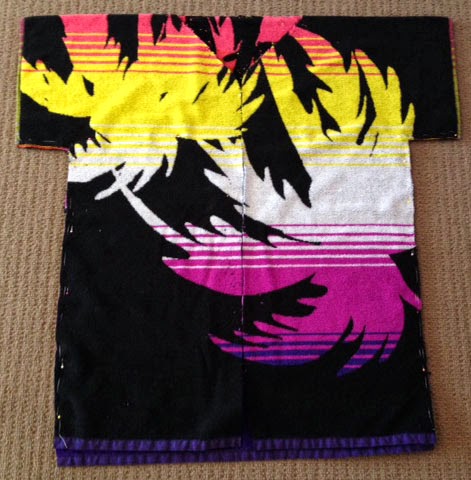
Last year I made the kids each a swim robe from a beach towel, and every time they wear it, I get asked where I bought it or how it's made.
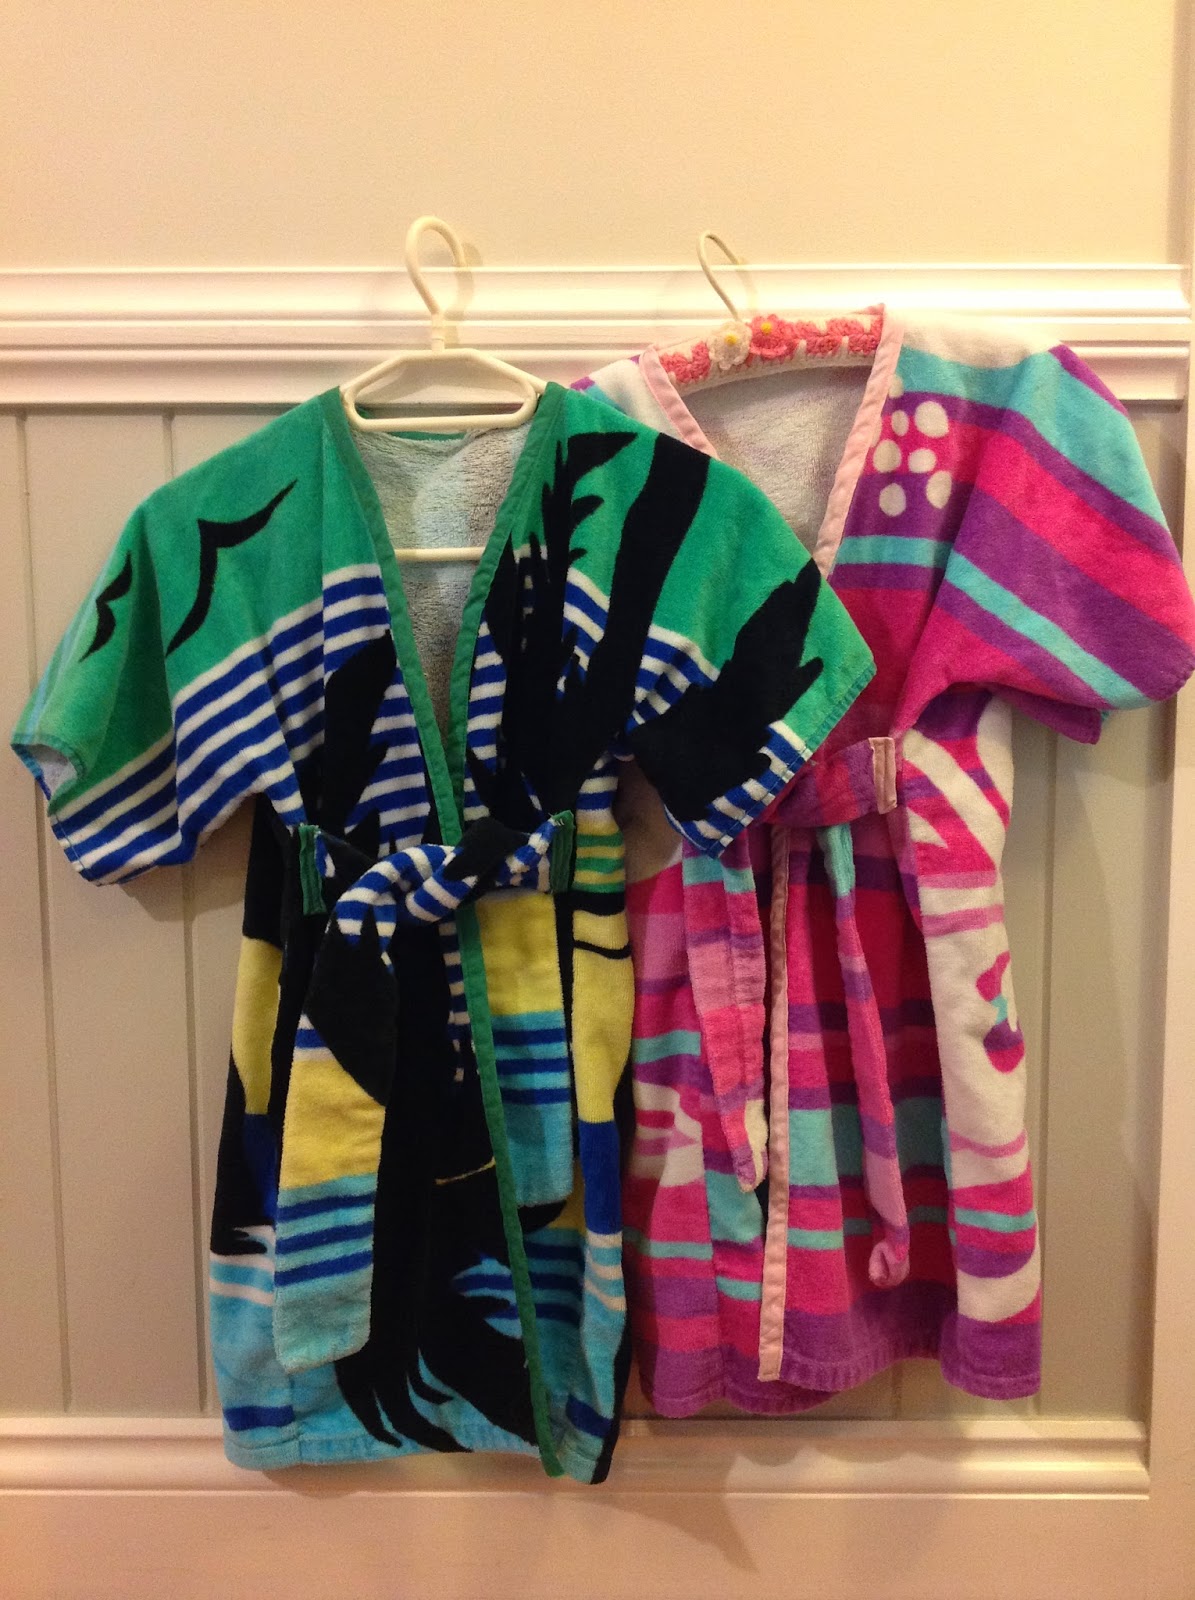
It's a very simple method handed down from Grandma, and with the hot weather approaching here Down Under, I thought it was time I made myself one too, and share it here with you :-)
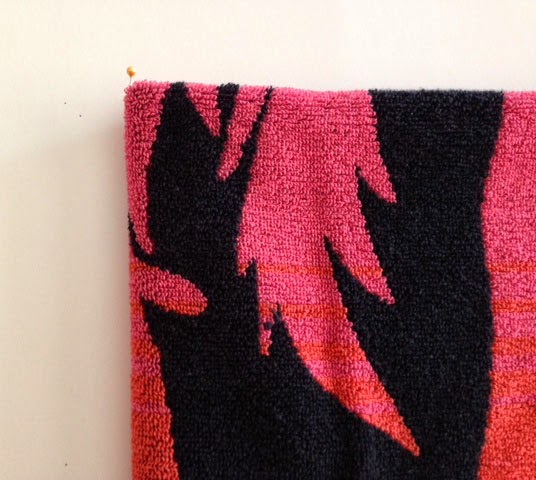
First up, buy the longest towel you can find. Since it's folded in half length wise, if it's too short, it might not cover everything you want to ;-) After folding it in the length, fold it again in the width, matching up the sides. Use a pin to mark the fold. This becomes the center of your robe.
The next step is to measure how wide you'd like the neck opening to be. You can measure this either from collar bone to collar bone, or use a favourite T-Shirt as I have below.
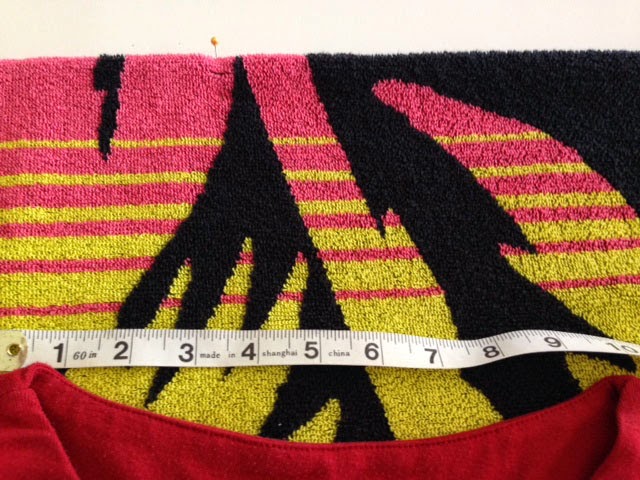
Mine measured at 10 inches. Next, using the pin you've positioned in the center of the towel, measure 5 inches to either side of the pin, and position another pin on each side. This will mark the neck opening you're soon going to cut.
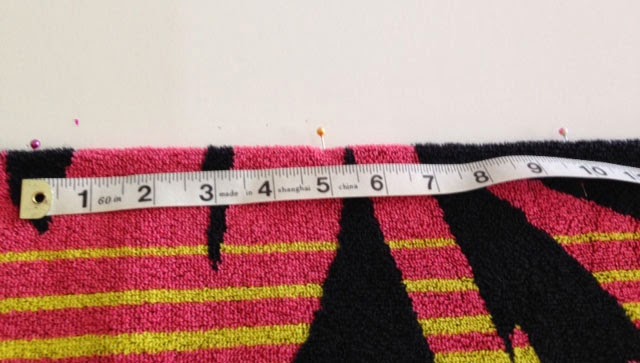
At this time, place another row of pins down the center to form the front cutting line. Cut from the bottom to the fold (where center of neckline is marked). Make sure that you only cut through one layer of the towel.
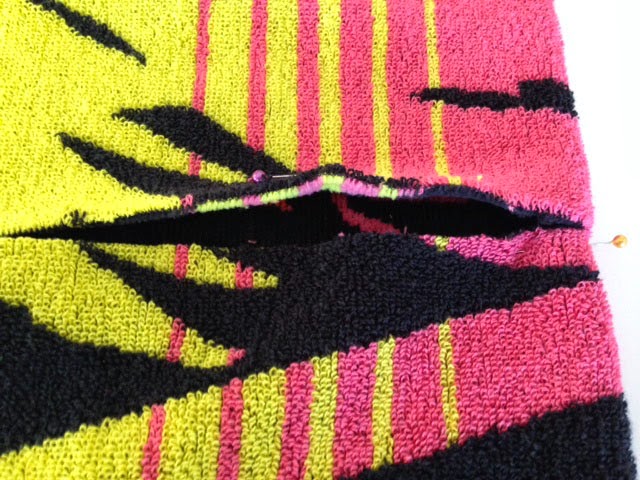
Next, cut on the fold from center pin to the pins that mark the opening of the neck. Folding the cut open will give you an idea of what the neck opening will measure.
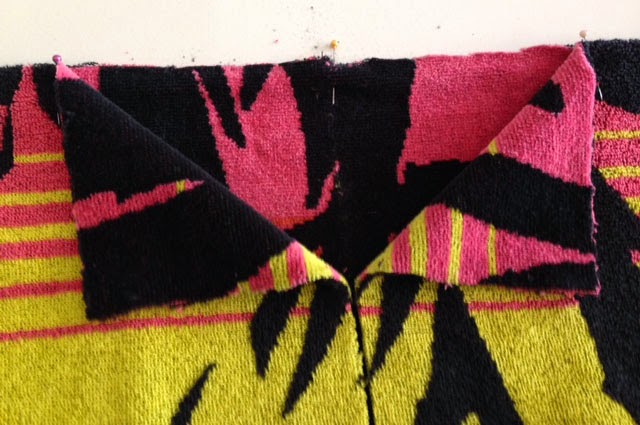
Cut the triangles of to form the front neckline.
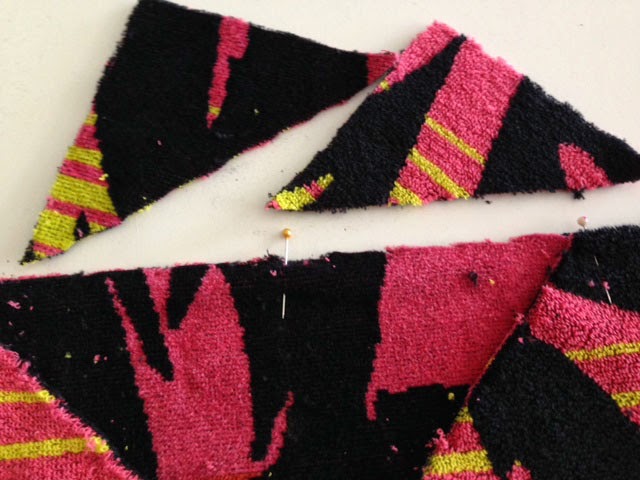
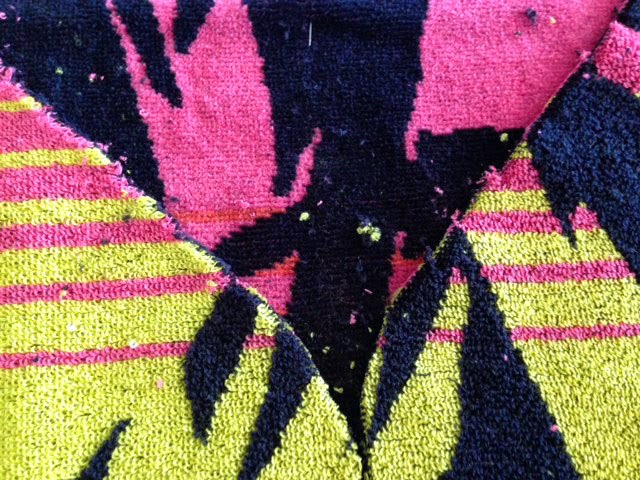
Trim the corners a bit till you're happy with how it looks.
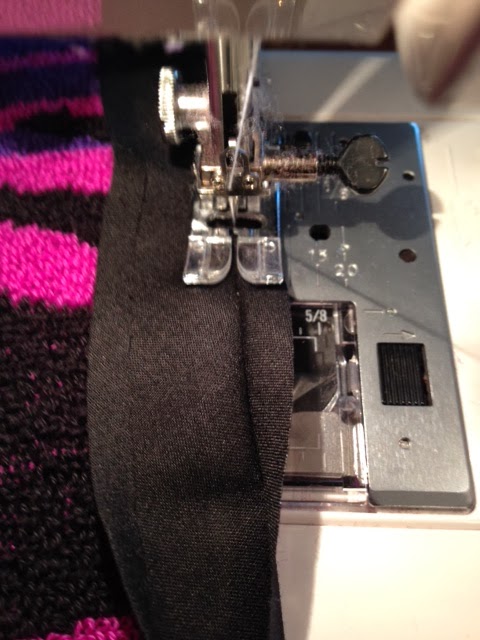
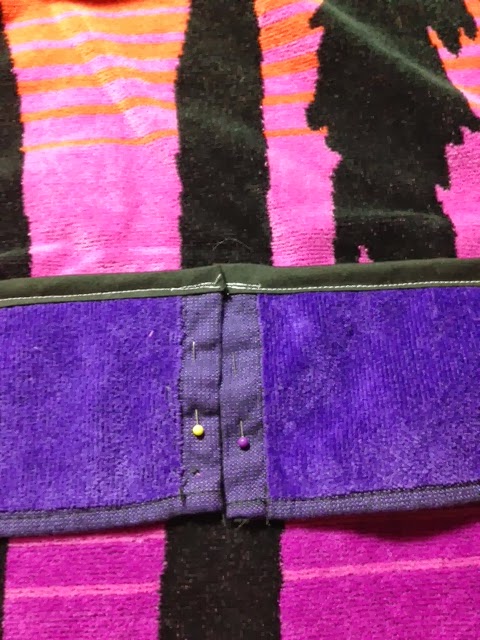
Towelling is so messy to work with! We'll bind the edges with hemming tape or a wider bias binding and that luckily eliminates the mess :-)
The next step is to stitch and cut the sides. Measure from your shoulder to approximately your elbow, this forms the "length" of your sleeve. I've chosen 10 inches and placed a pin from the top to mark the measurement.

The final measurement is around your widest part! Measure loosely to include seam allowance. Divide the measurement in half, and then in half again. From the front (cut) center of your robe, use that final number to mark your side seams with pins. The photo below shows what your robe should look like after the sides have been cut out.
Sew the side seems and use your hemming tape/bias binding to finish of the raw edges around the front and neckline. Or if you want, you can just overlock everything. That would probably be much quicker :-)
Use the pieces that you've cut from the sides to form your belt. I've attached mine to the center back of the robe. For the kids' robes, I have attached the ties from their sides.
When that bit's done, you are finished! "Lucy" kindly offered to model the robe :-)

this is awesome and so easy!!! Thank you, I will be making these :)
ReplyDeleteYou're welcome!
Delete